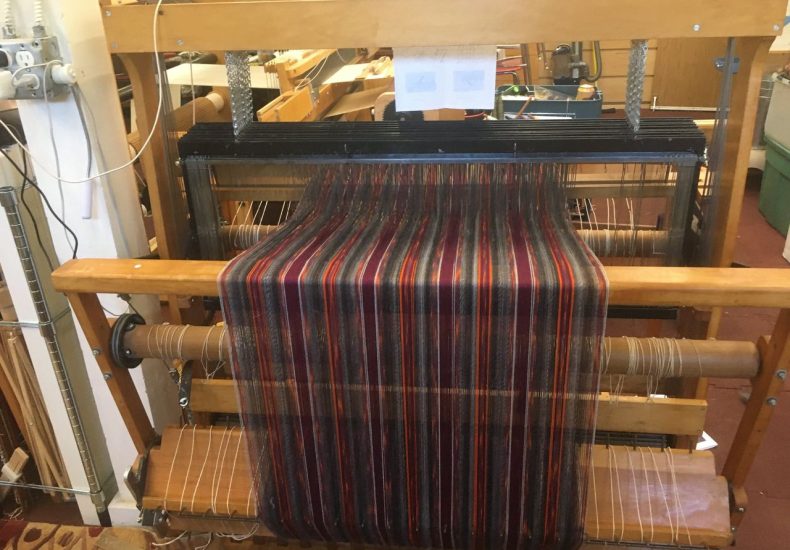
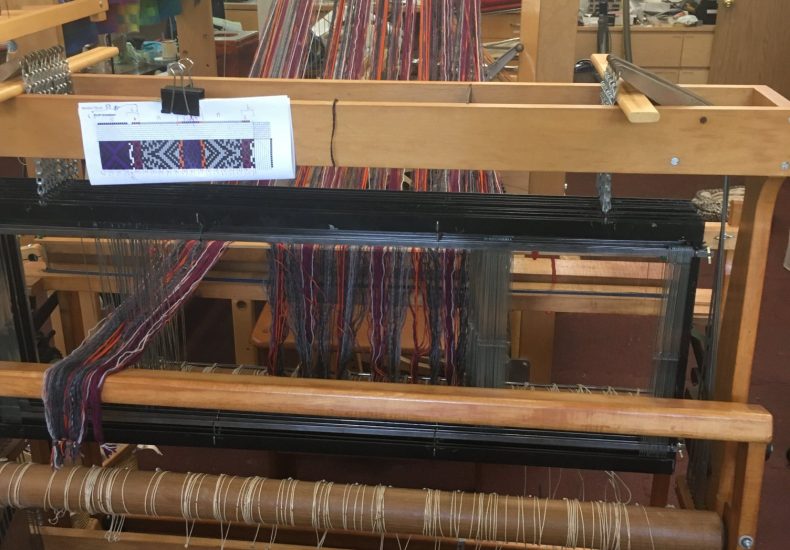
Strickler 728
I’m setting up to weave a couple shawls in Strickler’s 728, and just realized the threading doesn’t allow for tabby/plainweave to make a ground for hemstitching the ends. How do folks handle this? Draft included for reference.


Custom Weft!
Scarlet Tang– The weft yarn could not be more perfect! Thanks for dyeing it for me!!! Huckleberry Knits folks– Scarlet’s dye work is amazing!!
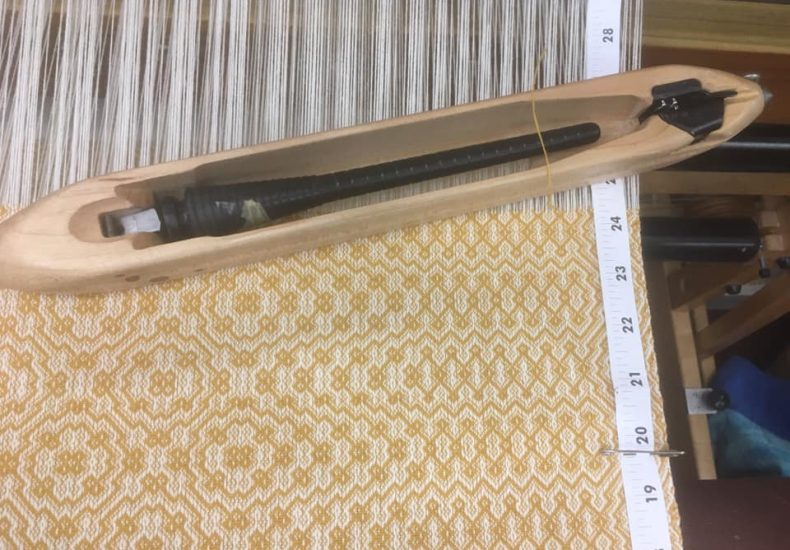
Two Projects
I have two projects on the loom right now, and other than both being fancy twills, they could not be more different. The first is a white cotton dish towel warp on my AVL. It is double beaten to get it to square, and with the AVL it just goes ZOOM. Even with setting a
End of thread on device
Reached the end of the towel and the end of the pirn at the same time! WINNING!
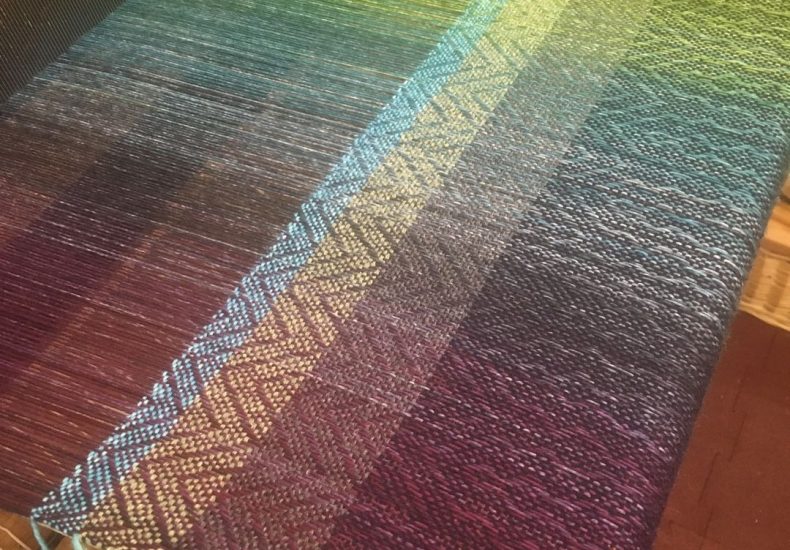
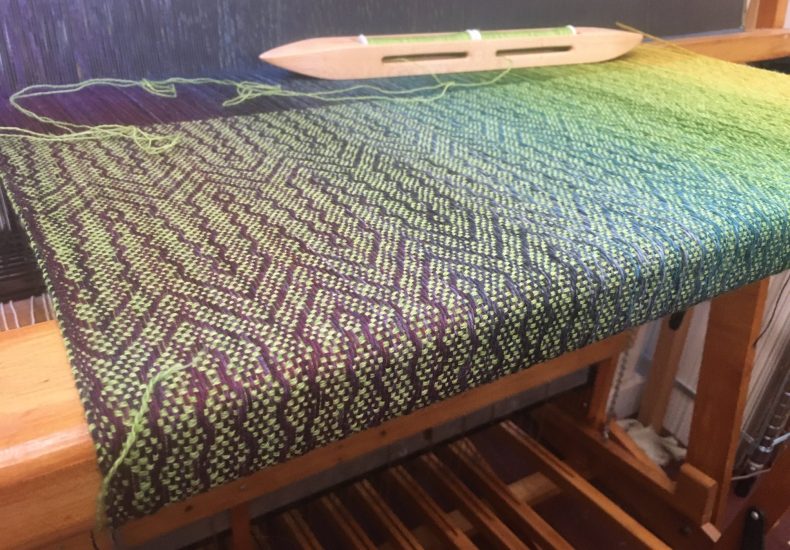
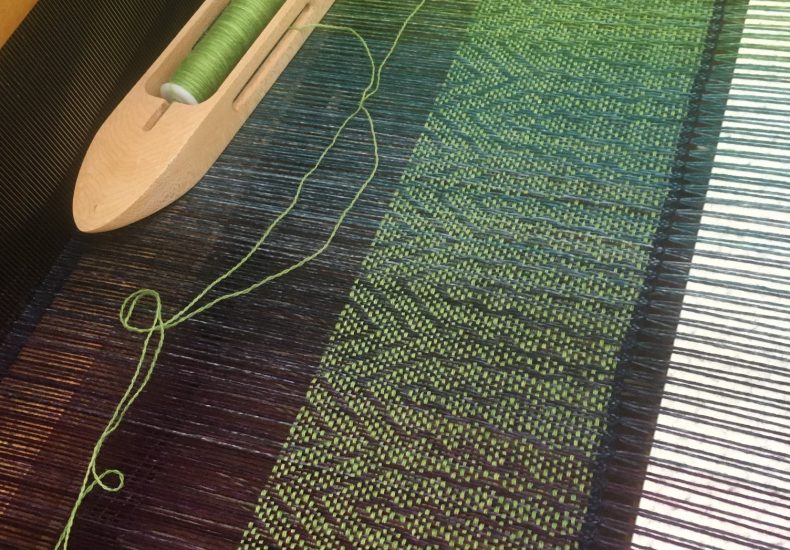
Weft Choices
Trying some different weft ideas. The navy is dominating the gradient. I like everything about the sky blue’s contrast with the warp gradient, except the color. I’ll never wear that. I think I need a saturated spring green. Not acid green– that would be too much. Something not far from the middle tone in the